Creating a project
How to create a new SolarLayout project from a KMZ.
A project is a named site you can return to. Each project holds your KMZ boundary, your plant parameters, and every layout you've generated for that site. Projects are stored in your SolarLayout account, so they follow you wherever you sign in — everything lives in your account, with nothing to manage locally.
Creating a new project
Creating a project is a guided, full-page 1-2-3 flow: add your site file, name the project, then create it. You drop in a KML or KMZ, SolarLayout draws what's inside before anything is uploaded, you confirm the name, and a single Create project button sets everything up.
Start a new project
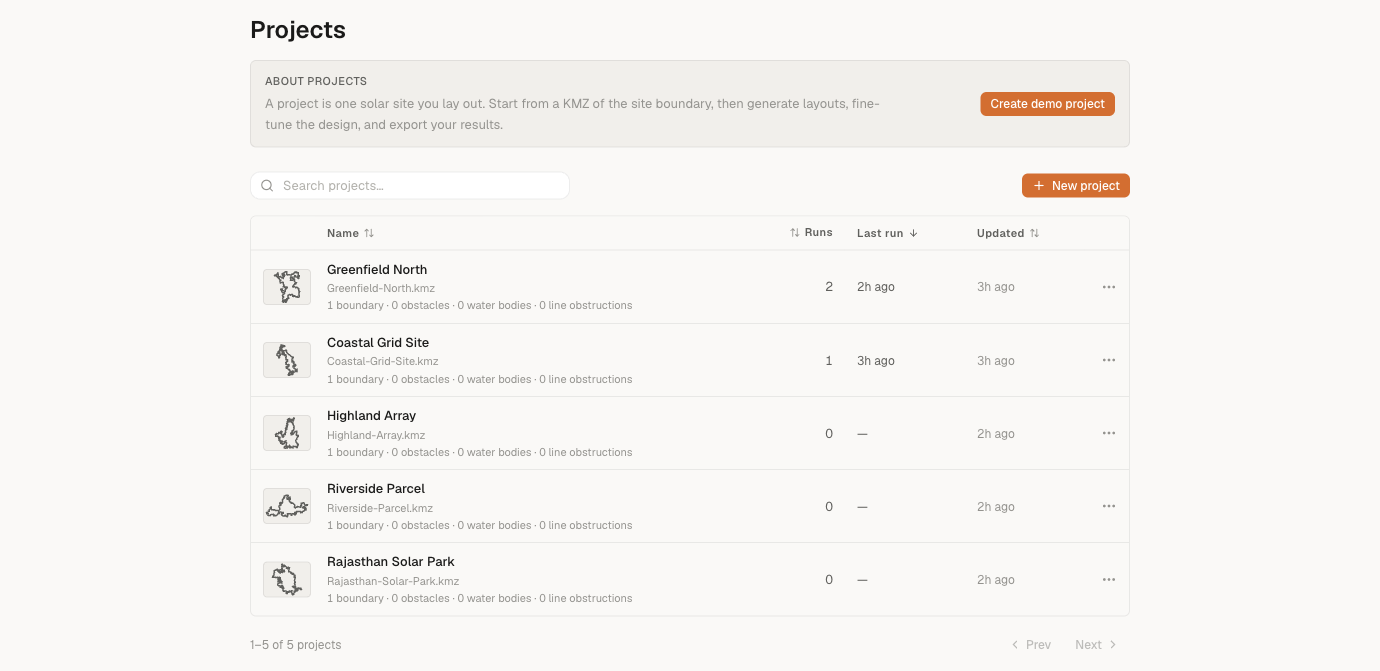
Click the + New project button at the top-right of the Projects list. It opens a full create page of its own — not a popup — with the three steps laid out down the page.
If you'd rather try SolarLayout without your own file first, use Create demo project to start from a SolarLayout-managed reference site instead.
Add your site file
In step 1, drop your file onto the upload area or tap to choose one — the KML or KMZ that describes the site, the same boundary you'd open in Google Earth. SolarLayout reads the boundary, plots, exclusions, and ICR placemarks from it.
The moment the file is readable, SolarLayout draws a preview of what's inside right there — before anything is uploaded — and a file chip appears with the name and size (use Replace file to swap it). If the file obviously isn't a boundary, SolarLayout says so on the spot, without sending it anywhere.
If you're not sure what shape your file should be in, see KMZ requirements.
Name your project
Step 2 holds an editable name field, prefilled from your filename with the extension stripped. Leave it as-is or rename it to anything your team will recognise later.
Create the project
When you're happy with the file and the name, click Create project in step 3. This is the deliberate point where SolarLayout starts the server work, walking through three stages in place:
- Uploading your file — your boundary file goes to SolarLayout's storage.
- Creating your project — the project record is created in your account.
- Reading your boundary — SolarLayout reads the boundary shapes from your file so they appear on the map.
The whole thing usually completes in a few seconds. The first project of a fresh session sometimes takes a little longer (5-7 seconds) while the cloud worker warms up.
When it's done you'll briefly see Your site's ready with a quick summary — the number of plots and the total area — and then the project opens on its own.
If the boundary has a fixable problem — say two plots overlap — step 3 offers to Fix this for me and shows you the proposed repair before applying it.
The project canvas opens
When setup finishes, the project opens. The canvas shows your KMZ boundary; the input panel on the right is loaded with default plant parameters, ready for you to adjust.
Next stop: Your first layout for the end-to-end walkthrough.
How your project gets its name
Step 2 of the create flow prefills the name from your filename, with
the extension stripped. So Bikaner_80MW_Greenfield.kmz is offered as
Bikaner_80MW_Greenfield — accept it, or type your own before creating.
You can also rename a project at any time after it's created:
- From the Projects list, click the row's ⋯ menu and choose Rename.
- From the project's Settings page, rename it there.
Most teams name projects after the customer, the site, or the tender — e.g., "Bikaner — 80 MW" or "MP State Tender H1-2027". Pick a convention and stay close to it.
Where projects live
Projects live in your SolarLayout account — everything lives in your account, with nothing to manage locally. That means:
- The same project list appears wherever you sign in with the same account, in any browser.
- Signing out, or switching browsers or computers, does not delete your projects — they stay in your account.
- Sharing a project with a colleague isn't a file-copy task — it requires giving them access to the project, which isn't shipped yet (it's on the roadmap).
The KMZ you imported is kept inside your project so you can re-download it later from the project's settings. The original KMZ file on your own computer is yours to keep, move, or delete — SolarLayout doesn't touch it.
Working on multiple projects
Open a project from the Projects list to work on it. Rename and delete are managed from the Projects list row's ⋯ menu (rename is also available from the project's Settings page).
The Projects list (under Home) is your full project library — every project you've ever created on your account. See Recent projects & layouts for how to navigate it.