System vs User libraries
The difference between SolarLayout's managed catalog and your own uploaded modules and inverters.
SolarLayout keeps a single Resource library with two kinds of rows side by side:
- Managed rows — modules and inverters in the managed catalog, available to every account. The managed catalog ships empty by default; an admin can add files to it for everyone. You can use managed rows but not delete or rename them.
- Your uploads —
.PANand.ONDfiles uploaded to your workspace. Shared across everyone in your organization and available in all your projects, in any browser where you sign in.
Both kinds show up in the same Modules and Inverters tables on the
Resource library page. Managed rows are marked with a Managed chip
and can't be deleted; your own uploads have a row menu (the three-dot
icon) with a Delete option.
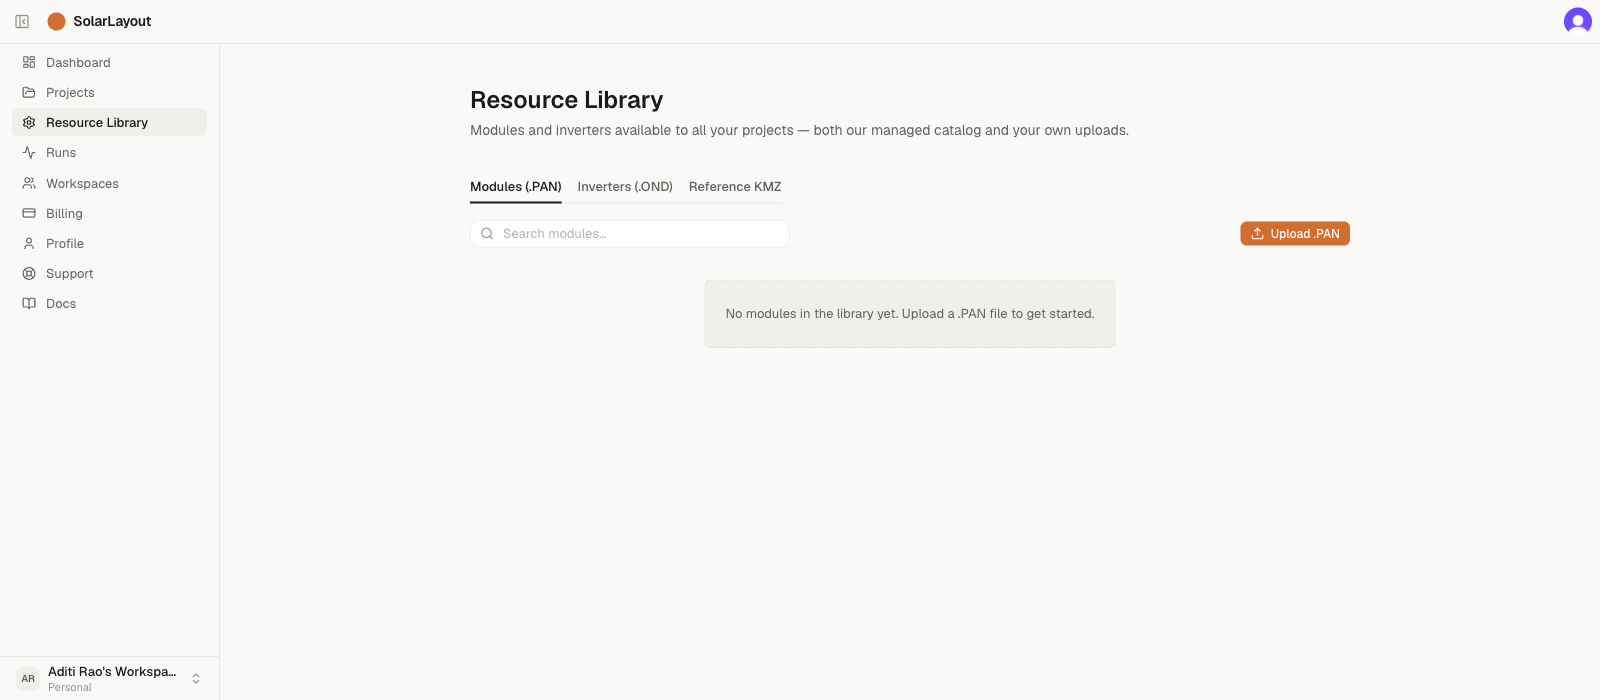
The Resource library page has three tabs: Modules (.PAN), Inverters (.OND), and Reference KMZ — a read-only catalog of SolarLayout-managed example boundary sites you can download and open in Google Earth, or load straight into a demo project. The Reference KMZ tab is download-only; there's nothing to upload there.
The managed catalog
The managed catalog ships empty by default — there is no
preloaded hardware. To build a project end-to-end, upload your own
.PAN / .OND files (they become your User library), or have an
admin add files to the managed catalog so they're available to every
account. The managed catalog is not a substitute for the actual
.PAN / .OND file your EPC will procure against.
See Release notes for changes.
Your uploads
Two ways to add to your workspace library:
- From the Resource library page — click Upload .PAN or Upload .OND in the toolbar above the relevant table. See PAN files and OND files for the per-format workflow.
- From inside a project — when a project's module / inverter picker doesn't have what you need, the upload flow inside the picker writes back to the same workspace library.
The library is per-workspace: uploads are shared across your organization, so teammates see each other's uploads. Sign in in any browser with the same account and your uploads come with you. Everything lives on the server; there's nothing to manage locally.
Which to use when
Quick rule:
- Use managed-catalog hardware for first-pass feasibility studies and early bid-stage capacity numbers, when an admin has added representative modules and inverters for your team.
- Upload your own when you need the exact
.PAN/.ONDfile the EPC or O&M team will procure against — particularly for lender-bound bankable yield models, where LTAs will not accept a generic inverter or module curve.
Finding hardware in the picker
The module picker lives in a project's Plant Layout tab (Module section) and the inverter picker lives in the Energy modeling tab (Inverter section). Both show managed and user rows together, with managed rows on top. Type to filter by manufacturer or model — plus wattage for the module picker, or kW and topology for the inverter picker.
If you can't find what you need:
- Search by the manufacturer's exact name as it appears on the datasheet — a full legal name and a short brand name are different strings.
- If it isn't in the managed catalog, upload the
.PANor.ONDfile — see Uploading your own hardware.